Showing posts with label How to. Show all posts

Friday, July 13, 2012

Do you think your ready for this Jelly!

I don't think your ready for this JELLY!
LOL!
Every time I do a jelly sandwich (manicure of course) it reminds
me of the Bootylicious song. 

Here is my Jelly Sandwich.

A while ago on my face book page I got asked what was a jelly sandwich manicure. 
I decided to do a little tutorial.
 They call it a Jelly sandwich because your using sheer or jelly polishes.
For my sheer polish I used essie, ballet slipper.
When dried, apply a layer of  glitter polish.
Then you add another layer of the same sheer/jelly polish on top of it.

Now you have a Jelly sandwich.
The items I used:
essie- ballet slipper
Jordana- party

Tuesday, July 10, 2012

Cherry Manicure!

My favorite fruit that I love to eat in the summer is Cherries!
With that being said, I decided to do a nail art.

 The base color is JulieG 9 to 5. It is a peachy creme color (2 coats). It's not this bright in person.

I used the Konad special polish in red and the green polish in the migi nail art pen.
For those wondering what a migi nail art pen is: It can be used as a nail polish and a  nail art pen.
 (twist for brush and pull for the pen)
I love using these!

 My cherry Manicure!
I hope you like my manicure.

The items I used:
  • JulieG- 9 to5
  • Cheeky plate-CH13 
  • Konad special polish-Red
  • Migi nail art pen-green and white


* You really don't need to go out and buy nail art plates. You can even use a dotting tool or a pin that has round end and dip it in red polish to make the cherries. Then with a thin brush or an old eye liner brush use it to make the leaf's.

Friday, July 6, 2012

How to do Border Nails.

Sorry for being m.i.a, I went back to school to finish my degree in Business. I well do my best to keep posting. I  have a lot of how to's and tutorials on nail art designs. So that should keep me busy for the next couple of days.
Today I well show you how I do the nail border. There are a lot of different ways you can do them. But I find this way to be the easiest for me.

Paint your nails with a base color of your choice. I decided to do a accent finger.

 With a thin nail art brush out line the outer part of your nails using a different color.

Add your favorite top coat and your done.


Here is a list of what I used:
Jesse's girl-Stiletto
JulieG- Bikini
thin nail art brush (if you don't have a brush you can use an old liquid eye liner brush)


I hope you like this little tutorial. If you have any questions or comments feel free to leave them in comment area. I well response to every single on of them. If you want me to do a tutorial on something that you seen you can post a picture of it on my FACEBOOK PAGE. 

Wednesday, February 8, 2012

Tuxedo Nails

Tuxedo Nails!

 colors I used:

Base coat: Jordana nail strengthener
Base colors: girls night out (Jesse's girl), gaga for green (china glaze)
punk pink (Nina ultra pro), french white (wet n wild), ruby ruby (Sinful Colors)

Tuxedo design: black rage (pure ice)

Top coat: seche vite


Hope you like it.  

Wednesday, January 18, 2012

How to fix a broken nail with a tea bag!

So I was cleaning my bathroom and I SLAMMED my finger into the shower door, and I broke my nail. :(  So I decided to show you guys how I fix a broken nail.  I didn't want to file it down and start all over again. Since I made it this far without biting my nails. This method has become my bf since I decided to grow out my nails.
You will need a tea bag, nail glue, a file, and a pair of scissors. Please excuse my file it is a little beaten up.

This is my broken nail. I don't know if you can see it.


cut the tea bag at the top.

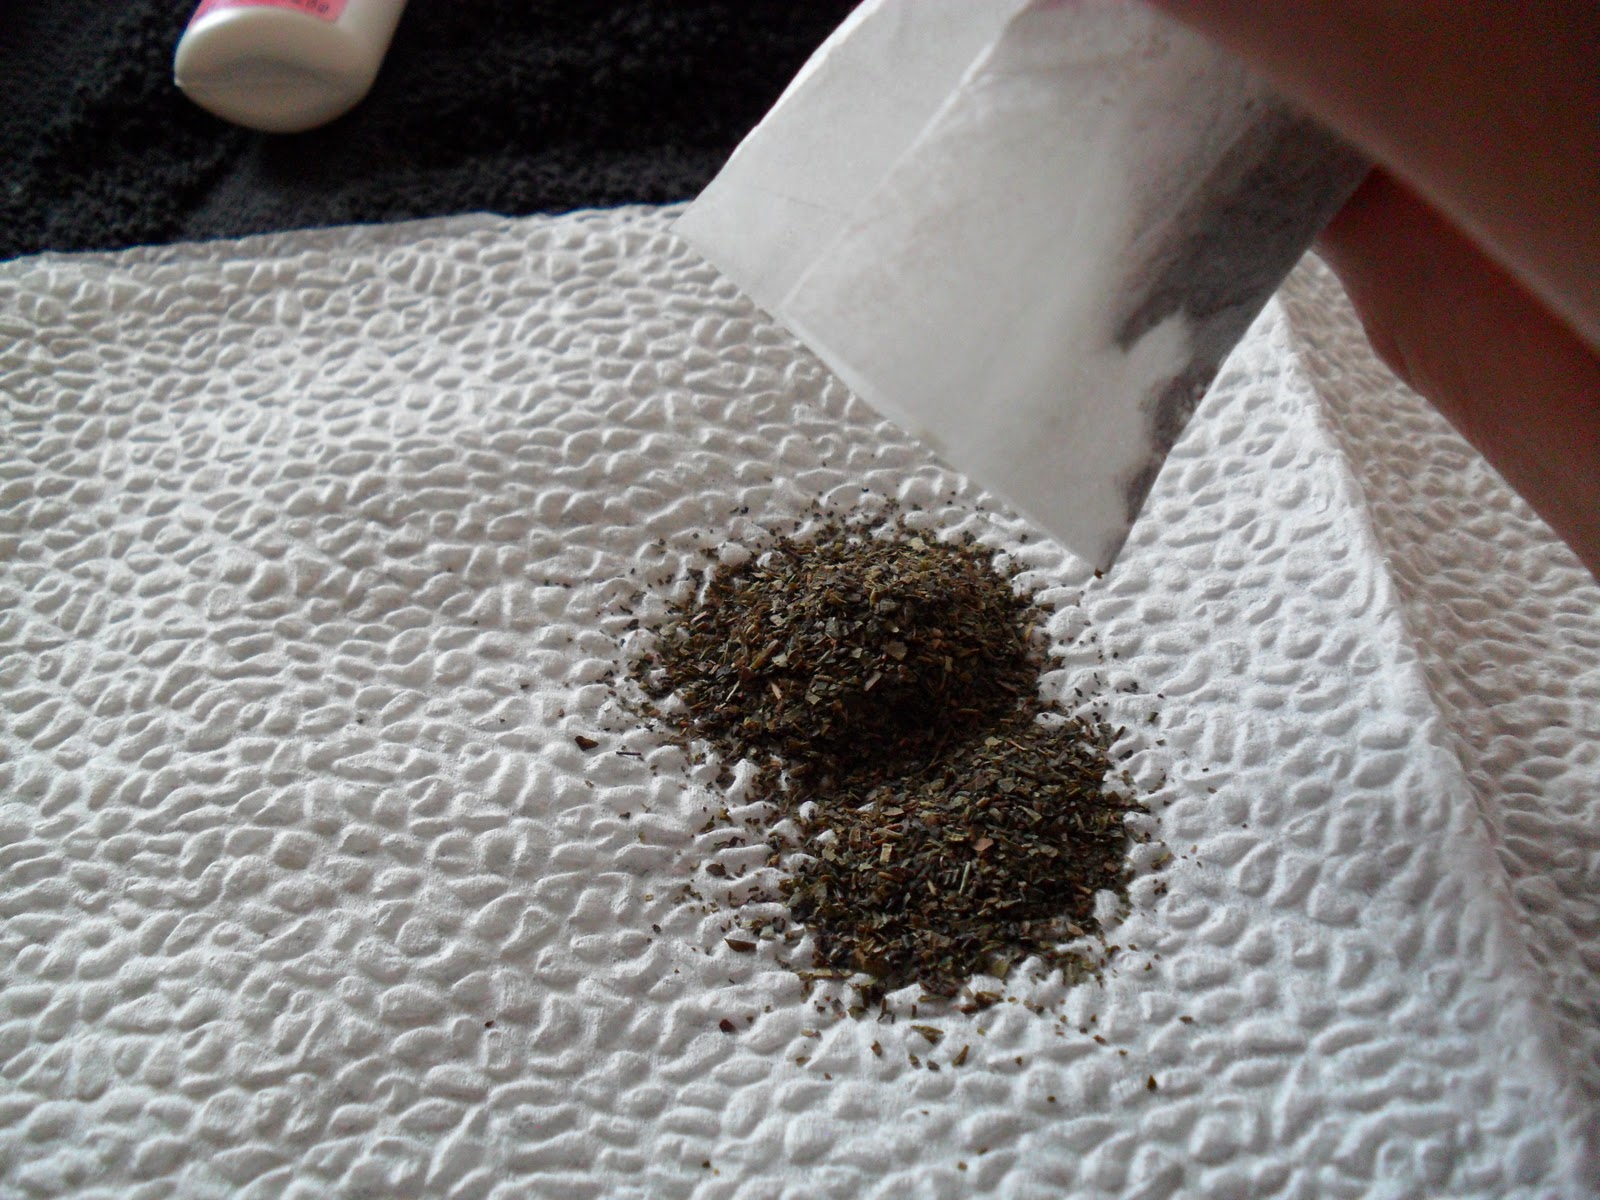
pour the tea in a napkin and open the tea bag completely. You may need to cut it down the middle so it can open up.

tea bag should look like this when it's opened.

Next, your going to cut a little piece of the bag. It should be a little bigger then what your cut is. For example: the length of mine was as long as my finger nail, and width was to the end of the cut. 

Then your going to glue the piece of bag onto your nail. You can use tweezers to move it in place. The glue I used was the brush on type. But I find it easier to put a couple of drops on your nail and then place the bag over it. Press down with tweezers or even the scissor tip to make sure it is completely dry.
When its dry file or gently buff out until it has a smooth surface. You can then paint your nails as you normally would.

Hopefully I explained right.